How to Craft Your Own Custom Lighting Fixtures at Home
Introduction
Creating your own lighting fixtures may seem like a daunting task, but with a little bit of creativity and effort, you can turn your home into a designer’s paradise. Plus, not only is it a fun project to work on, but it also allows you to save money while adding a unique touch to your living space. In this article, we’ll take you step-by-step through the process of designing and creating your own custom lighting fixtures.
Step 1: Decide on the Type of Fixture
Before you start creating anything, it’s important to decide on the type of lighting fixture you want to make. There are endless possibilities, ranging from pendant lights to table lamps to chandeliers. Consider the room you’re designing for, the colors and materials you want to incorporate, and the overall aesthetic you’re trying to achieve.
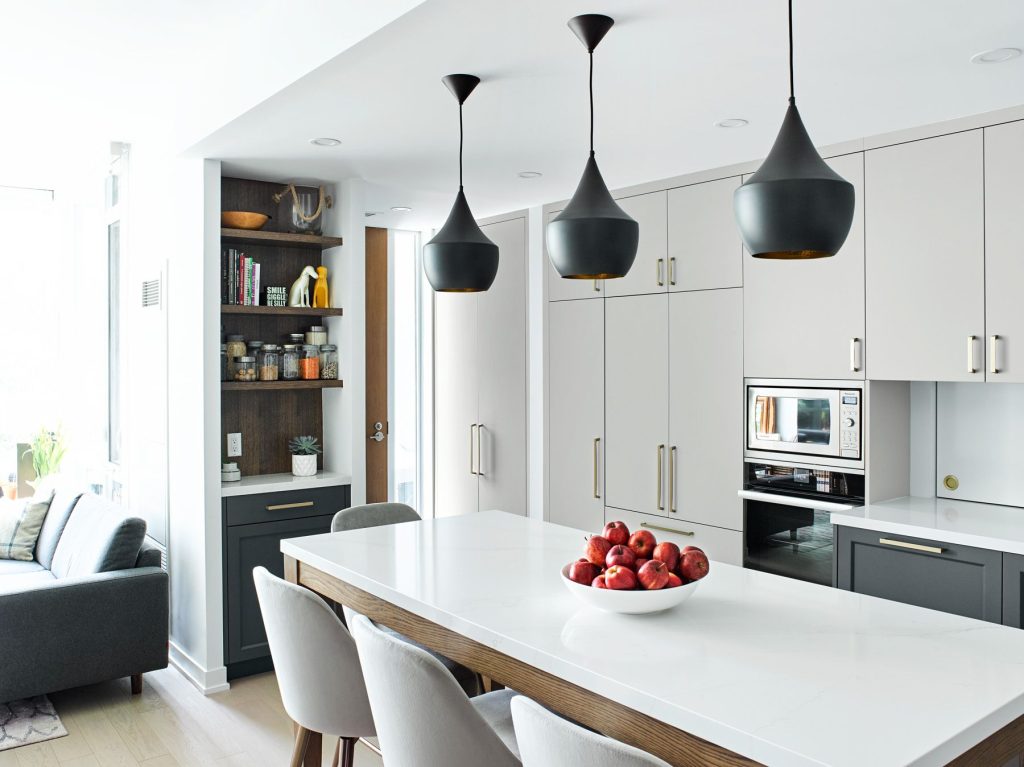
Pendant Lights
Pendant lights are a great option for adding a statement piece to any room. To create a pendant light, start with an existing light fixture and customize it to your liking. You can add a unique shade or wrap the frame in a different material, such as fabric or wire.
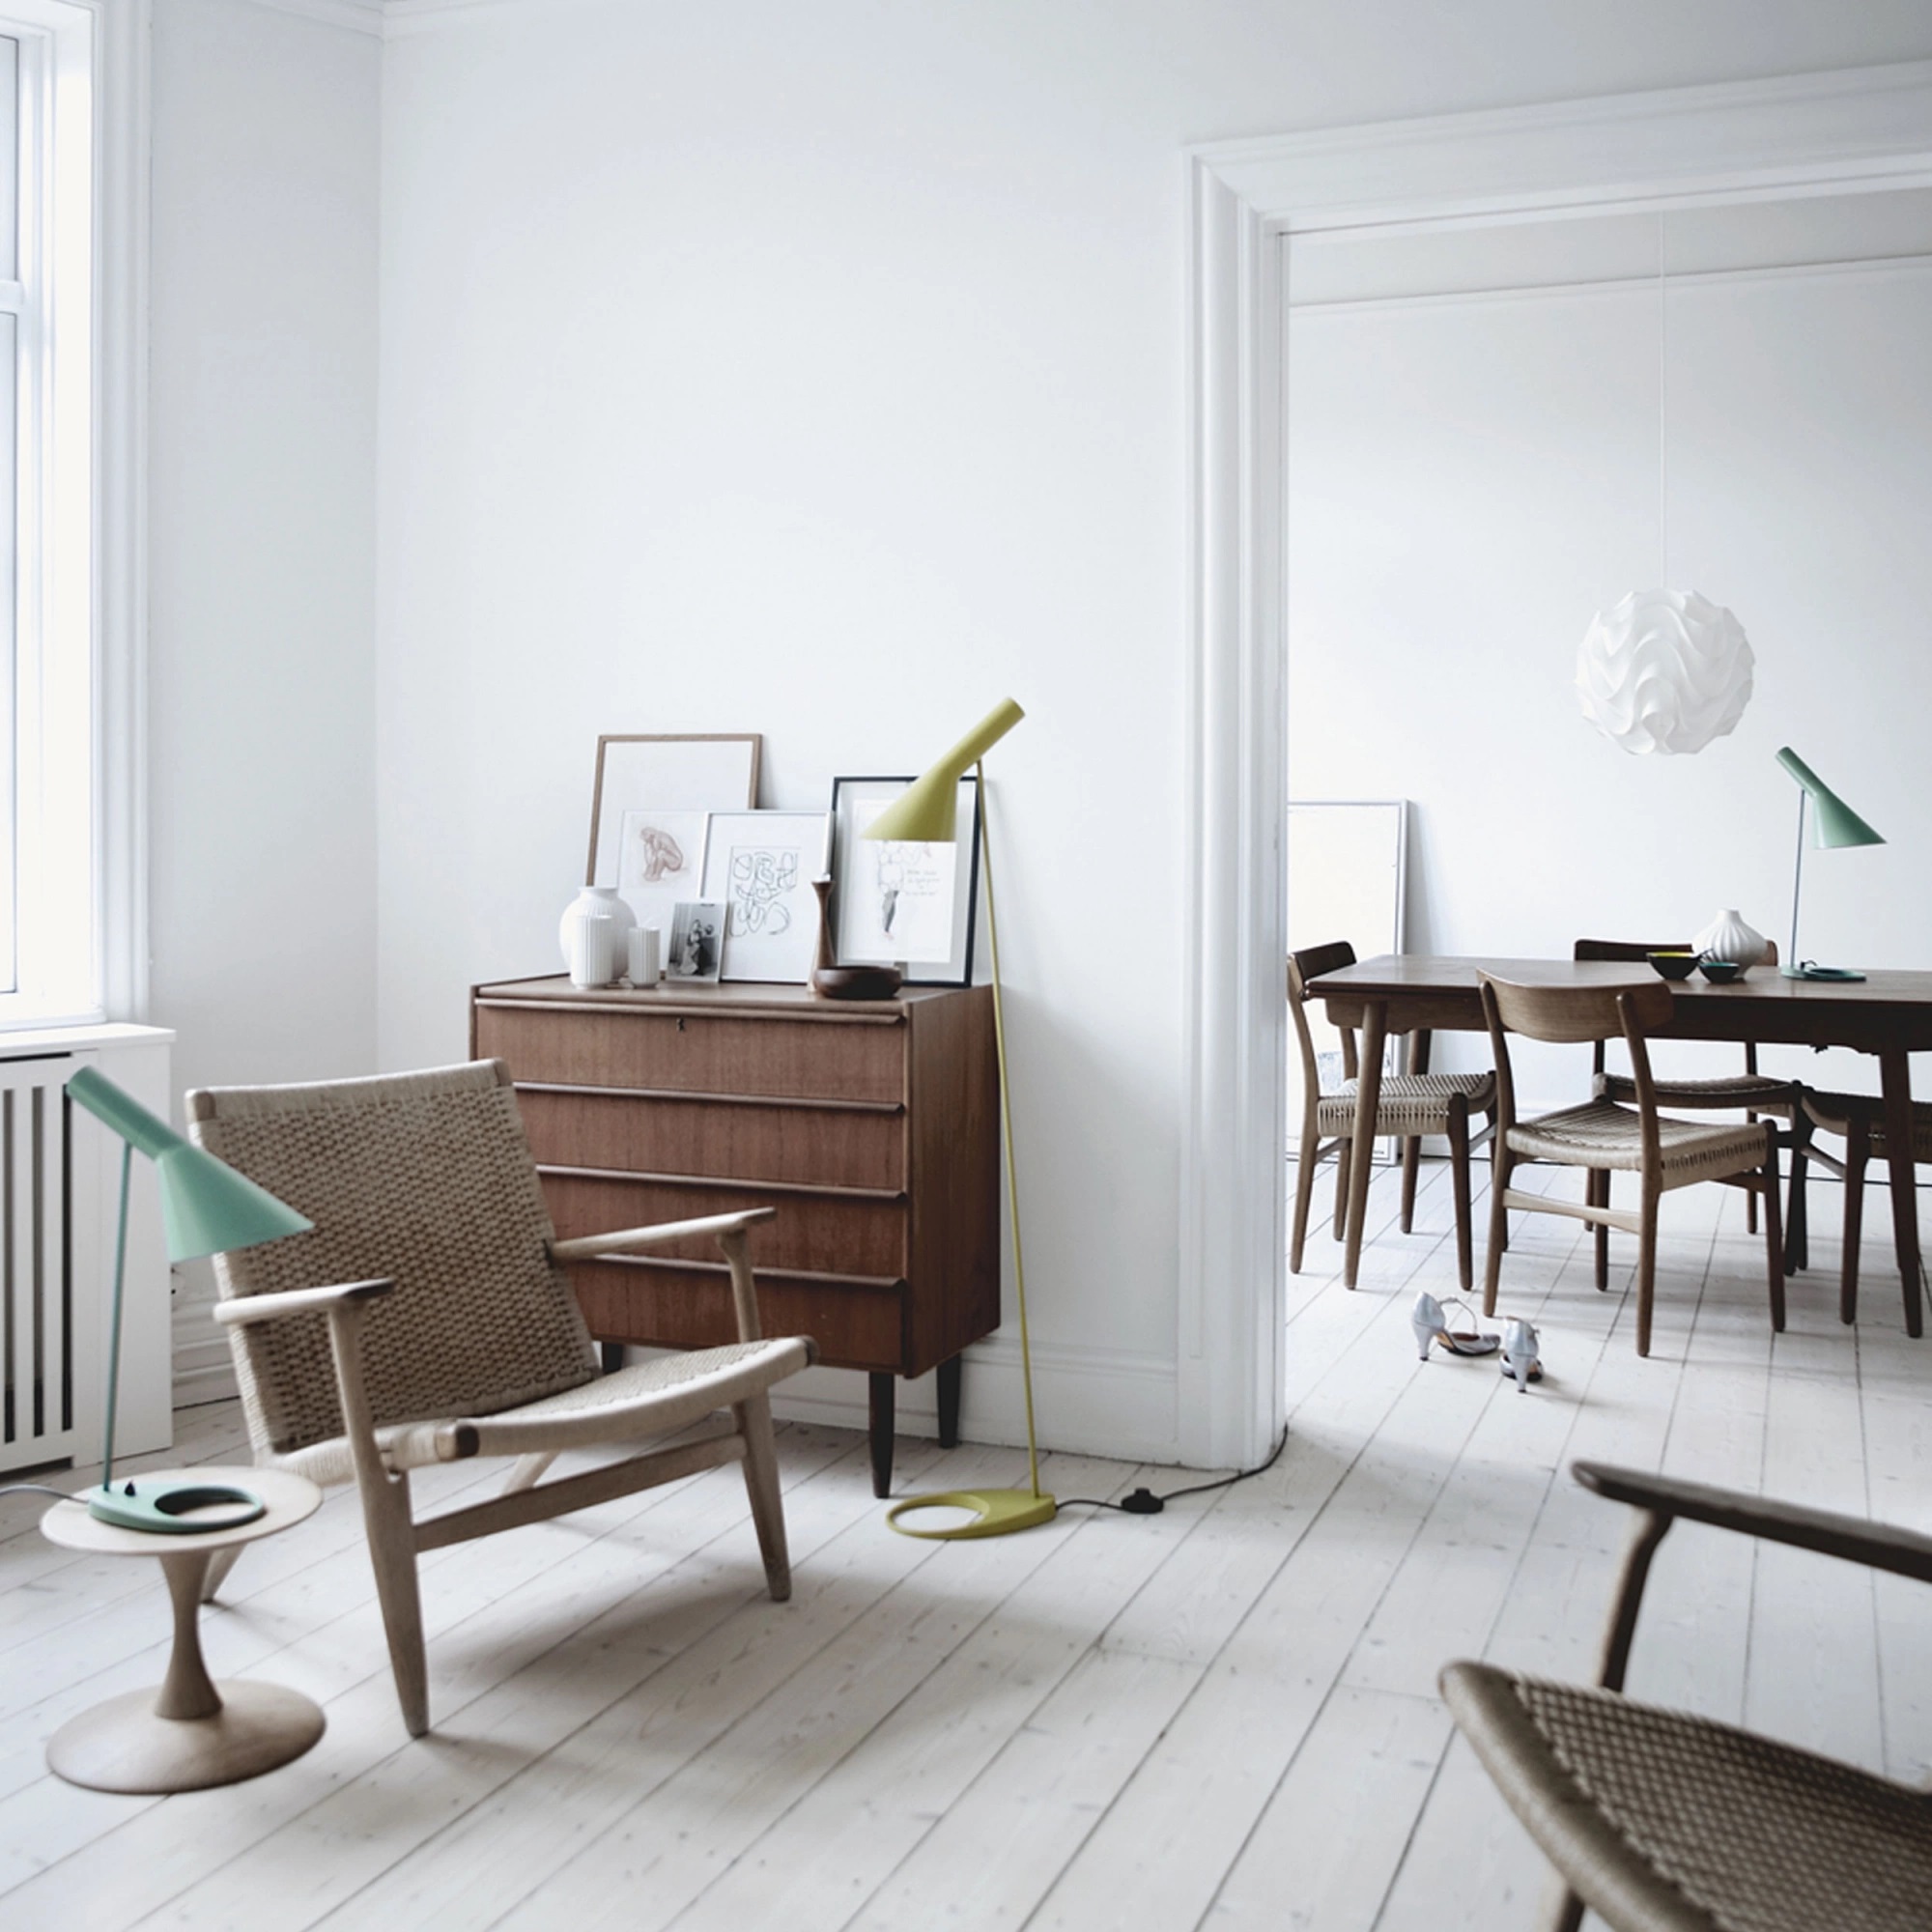
Table Lamps
Table lamps are a versatile option that can be used in a number of settings. To make your own table lamp, consider using a unique base, such as a wine bottle or ceramic vase, and adding a shade that complements the base’s color and texture.
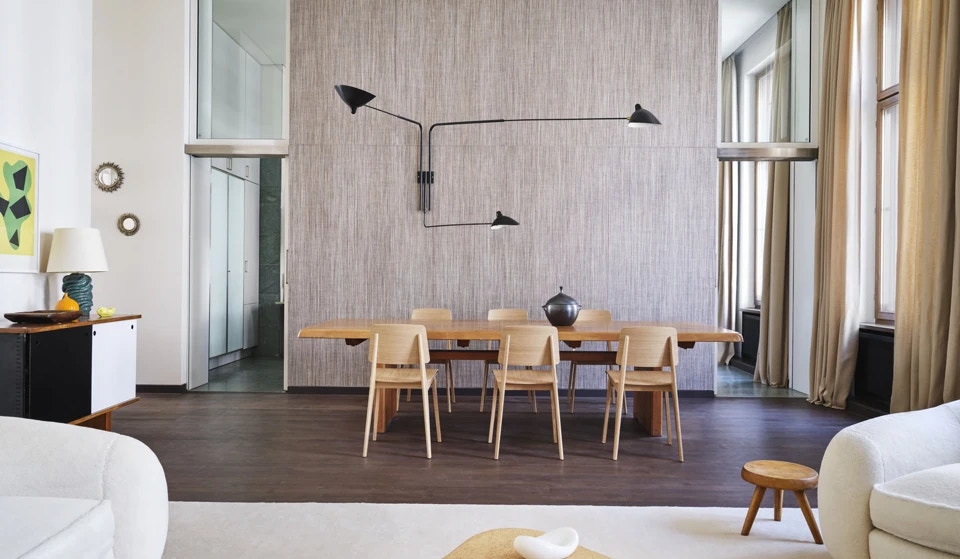
Chandeliers
Chandeliers are a bold statement piece that can add glamour to any room. To create your own chandelier, you’ll need to start with a base that can hold the light bulbs and add embellishments such as crystals or beads to create a stunning focal point.
Step 2: Gather Materials
Once you’ve decided on the type of lighting fixture you want to make, it’s time to gather the necessary materials. Depending on the type of fixture, you’ll need:
– Light bulbs
– Electrical wiring
– Light sockets
– Lamp cord
– Lampshade
– Base or frame
– Decorating materials (e.g., beads, crystals, fabric)
– Glue
Step 3: Design and Construction
Once you have all your materials, it’s time to get to work. Follow these steps to create your own custom lighting fixture:
– Design: Sketch out your design on paper to get a visual idea of how everything will come together. This is also a good time to make any adjustments to your plan.
– Assemble: Start with the base or frame of the fixture and begin assembling the electrical parts, such as the light sockets and wiring. Be sure to follow safety guidelines when working with electricity.
– Decorate: Once the electrical parts are set up, you can start adding embellishments to the fixture. This can be as simple as adding a lampshade or as intricate as wrapping the frame in wire and beads.
– Test: Before hanging your fixture, test it to ensure it’s functioning correctly and safely.
Step 4: Hang and Enjoy
The final step is to hang your custom lighting fixture and enjoy the fruits of your labor. In just a few easy steps, you’ve created a unique addition to your home decor that reflects your personal style and creativity.
Conclusion
Crafting your own custom lighting fixtures is a great way to add personality and style to your home while saving money. By following these steps, you can create a unique piece that reflects your individuality and creativity. So get started on your DIY lighting fixture project today, and let your imagination run wild!